
How To Integrate Click Up With Microsoft To Do
Learn how to seamlessly integrate ClickUp with Microsoft To Do. Boost your workflow and manage tasks more efficiently with our comprehensive guide.
This process involves setting up an integration between Click Up and Microsoft To Do using a series of steps within the Zapier platform. By following these instructions, users can automate tasks and streamline workflows between the two applications.
Step 1
Clicking on Create.

Step 2
Then select Zaps.

Step 3
And click on Trigger.

Step 4
Select Click Up as your application.

Step 5
Choose the appropriate trigger event that suits your needs.

Step 6
And click on Continue.

Step 7
Select the workspace that you wish to use,

Step 8
Then proceed by clicking on Continue.

Step 9
Click on Test Trigger.

Step 10
Then click on Skip Test.

Step 11
Click on the Continue button.

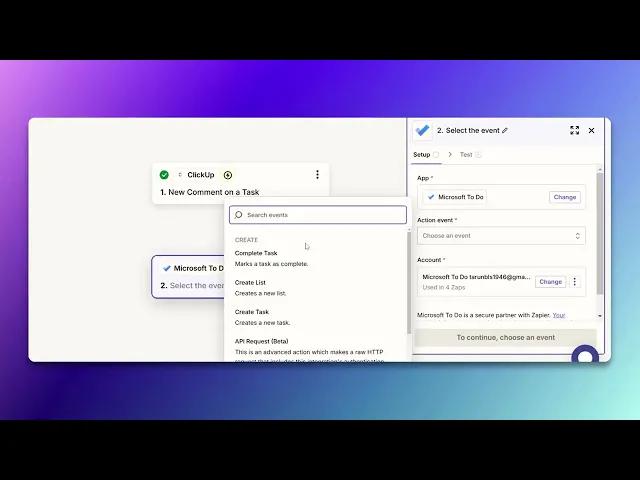
Step 12
Then select the Microsoft to do.

Step 13
Choose the list according to your preference in the next section.

Step 14
Enter the task details by clicking on the three dots icon,

Step 15
Then select Custom.

Step 16
And click on Continue.

Step 17
Click on Test Setup.

Step 18
Select Skip Test.

Step 19
Click on Publish.

This is the step-by-step process to integrate Click Up with Microsoft To Do. Let’s look at some tips for it.
Pro tips for integrating Click Up with Microsoft To Do
Use the Click Up + Microsoft To Do Integration – Take advantage of the Click Up + Microsoft To Do native integration to sync your Click Up tasks with your Microsoft To Do list. This provides a seamless way to manage tasks across both platforms.
Set Up Sync Options – When setting up the integration, ensure that your tasks and lists are synced properly. You can decide whether to sync all tasks or just specific lists.
Customize Your Task Views – To get the most out of the integration, customize both Click Up and Microsoft To Do views to reflect your preferred task organization, such as filtering tasks by due dates or priorities.
Common pitfalls & how to avoid them
Ignoring Sync Settings – If you don’t correctly adjust your sync settings, tasks may not transfer properly, or you might get duplicate tasks. Ensure that your sync options match your desired outcome.
Not Using Click Up's Custom Fields – Microsoft To Do does not support Click Up's custom fields. If you rely on custom fields for task details, make sure your integration handles this properly or find workarounds.
Overloading the To Do List – Syncing too many tasks between Click Up and Microsoft To Do might overwhelm the To Do list with unnecessary items. Try to keep the list concise by syncing only essential tasks.
Common FAQs for Integrating Click Up with Microsoft To Do
What kind of tasks sync between Click Up and Microsoft To Do?
Tasks created or updated in Click Up can be synced to Microsoft To Do, including task names, due dates, and descriptions. However, keep in mind that Click Up’s advanced features, such as custom fields, may not sync directly.Can i create tasks in Click Up directly from Microsoft To Do?
Yes, tasks added to Microsoft To Do can be set up to sync with Click Up, so you can create them in To Do and have them show up automatically in Click Up.Does the integration allow for real-time task syncing?
Yes, as long as the sync is set up correctly, the tasks should update in real-time, meaning that when changes are made in one platform, they will appear in the other.Is this integration available on Click Up Free Plan?
Yes, the Click Up integration with Microsoft To Do is available on the free plan, but for more advanced features such as custom syncing and automations, Click Up Premium might be needed
If you're an instructor or content creator looking to make tutorial videos, give a try. It transforms rough screen recordings into polished, studio-style videos that are ready for sharing with your audience. Plus, it automatically generates a step-by-step guide based on the video you create. Fascinating, right? Start by creating your first tutorial for free with trupeer.ai .
