VIDEO AND GUIDE MADE IN TRUPEER IN 2 MINUTES
How to edit Canva videos faster
How to edit Canva videos faster
How to edit Canva videos faster
This document provides a comprehensive overview of the steps required to efficiently edit videos. Follow these instructions to trim, duplicate, animate, and enhance your videos with ease.
Step 1
To begin, navigate to the design section and select a video from template . Once the video is applied, scroll down to the timeline where you can trim the video directly.

Step 2
You have the option to add a new page or split the existing page. Additionally, you can delete or duplicate the video page as needed.

Step 3
If required, you can replicate the same page or delete it. You also have the option to change the background color to one of your choice, and apply animations. Video edits can be made directly from this interface.

Step 4
Access the transition options beneath the video to make changes. Explore various features available there to refine your video edits.

Step 5
Once the edits are complete, you can play the video from the playroom. You also have the option to adjust playback speed and review the visual speed settings.

Step 6
For a broader overview, utilize the great view option. This allows you to duplicate or select specific pages for editing. Make use of the magic light option to edit text within the video.


These are the steps to edit Canva videos faster.
Pro tips for editing Canva videos more efficiently
Use pre-designed templates: Start with a Canva video template to save time and maintain a professional look. Choose one that closely aligns with your desired style.
Leverage timeline editing: Use the timeline at the bottom to adjust clip durations, reorder scenes, and sync elements with precision.
Group and align elements: Select multiple elements and group them to move or resize them together. Use alignment guides for consistent placement.
Utilize keyboard shortcuts: Learn Canva shortcuts like "Ctrl+C" (copy), "Ctrl+V" (paste), and "Ctrl+G" (group) to speed up your workflow.
Preview frequently: Click the play button to preview your video regularly, ensuring smooth transitions and proper alignment before exporting.
Common pitfalls and how to avoid them for editing Canva videos
Overcomplicating the design: Adding too many elements can make your video look cluttered.
Fix: Stick to a minimalistic style by using only necessary elements to convey your message effectively.Ignoring video duration limits: Forgetting to adjust the video length can result in abrupt cuts.
Fix: Use the timeline to match the duration of clips and transitions to your content.Poor text readability: Using fonts or colors that blend into the background can make text hard to read.
Fix: Apply contrasting colors or add a background behind the text for clarity.Skipping transitions: Abrupt scene changes may feel jarring.
Fix: Use Canva's transition effects to create smooth scene changes and maintain flow.Low-quality exports: Downloading videos in the wrong format can result in reduced quality.
Fix: Always export videos in MP4 format with the highest quality settings for the best output.
Common FAQs for how to edit Canva videos more efficiently
Can I edit video duration in Canva?
Yes, you can adjust video durations using the timeline at the bottom. Drag the clip’s edges to increase or decrease its length.Does Canva have advanced video editing tools?
Canva offers basic video editing tools like trimming, transitions, and text overlays, but it’s not as advanced as dedicated video editing software.Can I add music to my Canva video?
Yes, Canva provides a library of royalty-free music tracks that you can add to your videos.How can I ensure my video looks professional?
Use consistent fonts, colors, and transitions. Stick to a simple layout and ensure elements are well-aligned.What export settings should I use for the best quality?
Download your video in MP4 format with the highest resolution available for optimal quality.
This is a step-by-step guide on how to edit Canva videos faster
This document provides a comprehensive overview of the steps required to efficiently edit videos. Follow these instructions to trim, duplicate, animate, and enhance your videos with ease.
Step 1
To begin, navigate to the design section and select a video from template . Once the video is applied, scroll down to the timeline where you can trim the video directly.

Step 2
You have the option to add a new page or split the existing page. Additionally, you can delete or duplicate the video page as needed.

Step 3
If required, you can replicate the same page or delete it. You also have the option to change the background color to one of your choice, and apply animations. Video edits can be made directly from this interface.

Step 4
Access the transition options beneath the video to make changes. Explore various features available there to refine your video edits.

Step 5
Once the edits are complete, you can play the video from the playroom. You also have the option to adjust playback speed and review the visual speed settings.

Step 6
For a broader overview, utilize the great view option. This allows you to duplicate or select specific pages for editing. Make use of the magic light option to edit text within the video.


These are the steps to edit Canva videos faster.
Pro tips for editing Canva videos more efficiently
Use pre-designed templates: Start with a Canva video template to save time and maintain a professional look. Choose one that closely aligns with your desired style.
Leverage timeline editing: Use the timeline at the bottom to adjust clip durations, reorder scenes, and sync elements with precision.
Group and align elements: Select multiple elements and group them to move or resize them together. Use alignment guides for consistent placement.
Utilize keyboard shortcuts: Learn Canva shortcuts like "Ctrl+C" (copy), "Ctrl+V" (paste), and "Ctrl+G" (group) to speed up your workflow.
Preview frequently: Click the play button to preview your video regularly, ensuring smooth transitions and proper alignment before exporting.
Common pitfalls and how to avoid them for editing Canva videos
Overcomplicating the design: Adding too many elements can make your video look cluttered.
Fix: Stick to a minimalistic style by using only necessary elements to convey your message effectively.Ignoring video duration limits: Forgetting to adjust the video length can result in abrupt cuts.
Fix: Use the timeline to match the duration of clips and transitions to your content.Poor text readability: Using fonts or colors that blend into the background can make text hard to read.
Fix: Apply contrasting colors or add a background behind the text for clarity.Skipping transitions: Abrupt scene changes may feel jarring.
Fix: Use Canva's transition effects to create smooth scene changes and maintain flow.Low-quality exports: Downloading videos in the wrong format can result in reduced quality.
Fix: Always export videos in MP4 format with the highest quality settings for the best output.
Common FAQs for how to edit Canva videos more efficiently
Can I edit video duration in Canva?
Yes, you can adjust video durations using the timeline at the bottom. Drag the clip’s edges to increase or decrease its length.Does Canva have advanced video editing tools?
Canva offers basic video editing tools like trimming, transitions, and text overlays, but it’s not as advanced as dedicated video editing software.Can I add music to my Canva video?
Yes, Canva provides a library of royalty-free music tracks that you can add to your videos.How can I ensure my video looks professional?
Use consistent fonts, colors, and transitions. Stick to a simple layout and ensure elements are well-aligned.What export settings should I use for the best quality?
Download your video in MP4 format with the highest resolution available for optimal quality.
This is a step-by-step guide on how to edit Canva videos faster
Explore similar articles
Explore similar articles
Explore similar articles


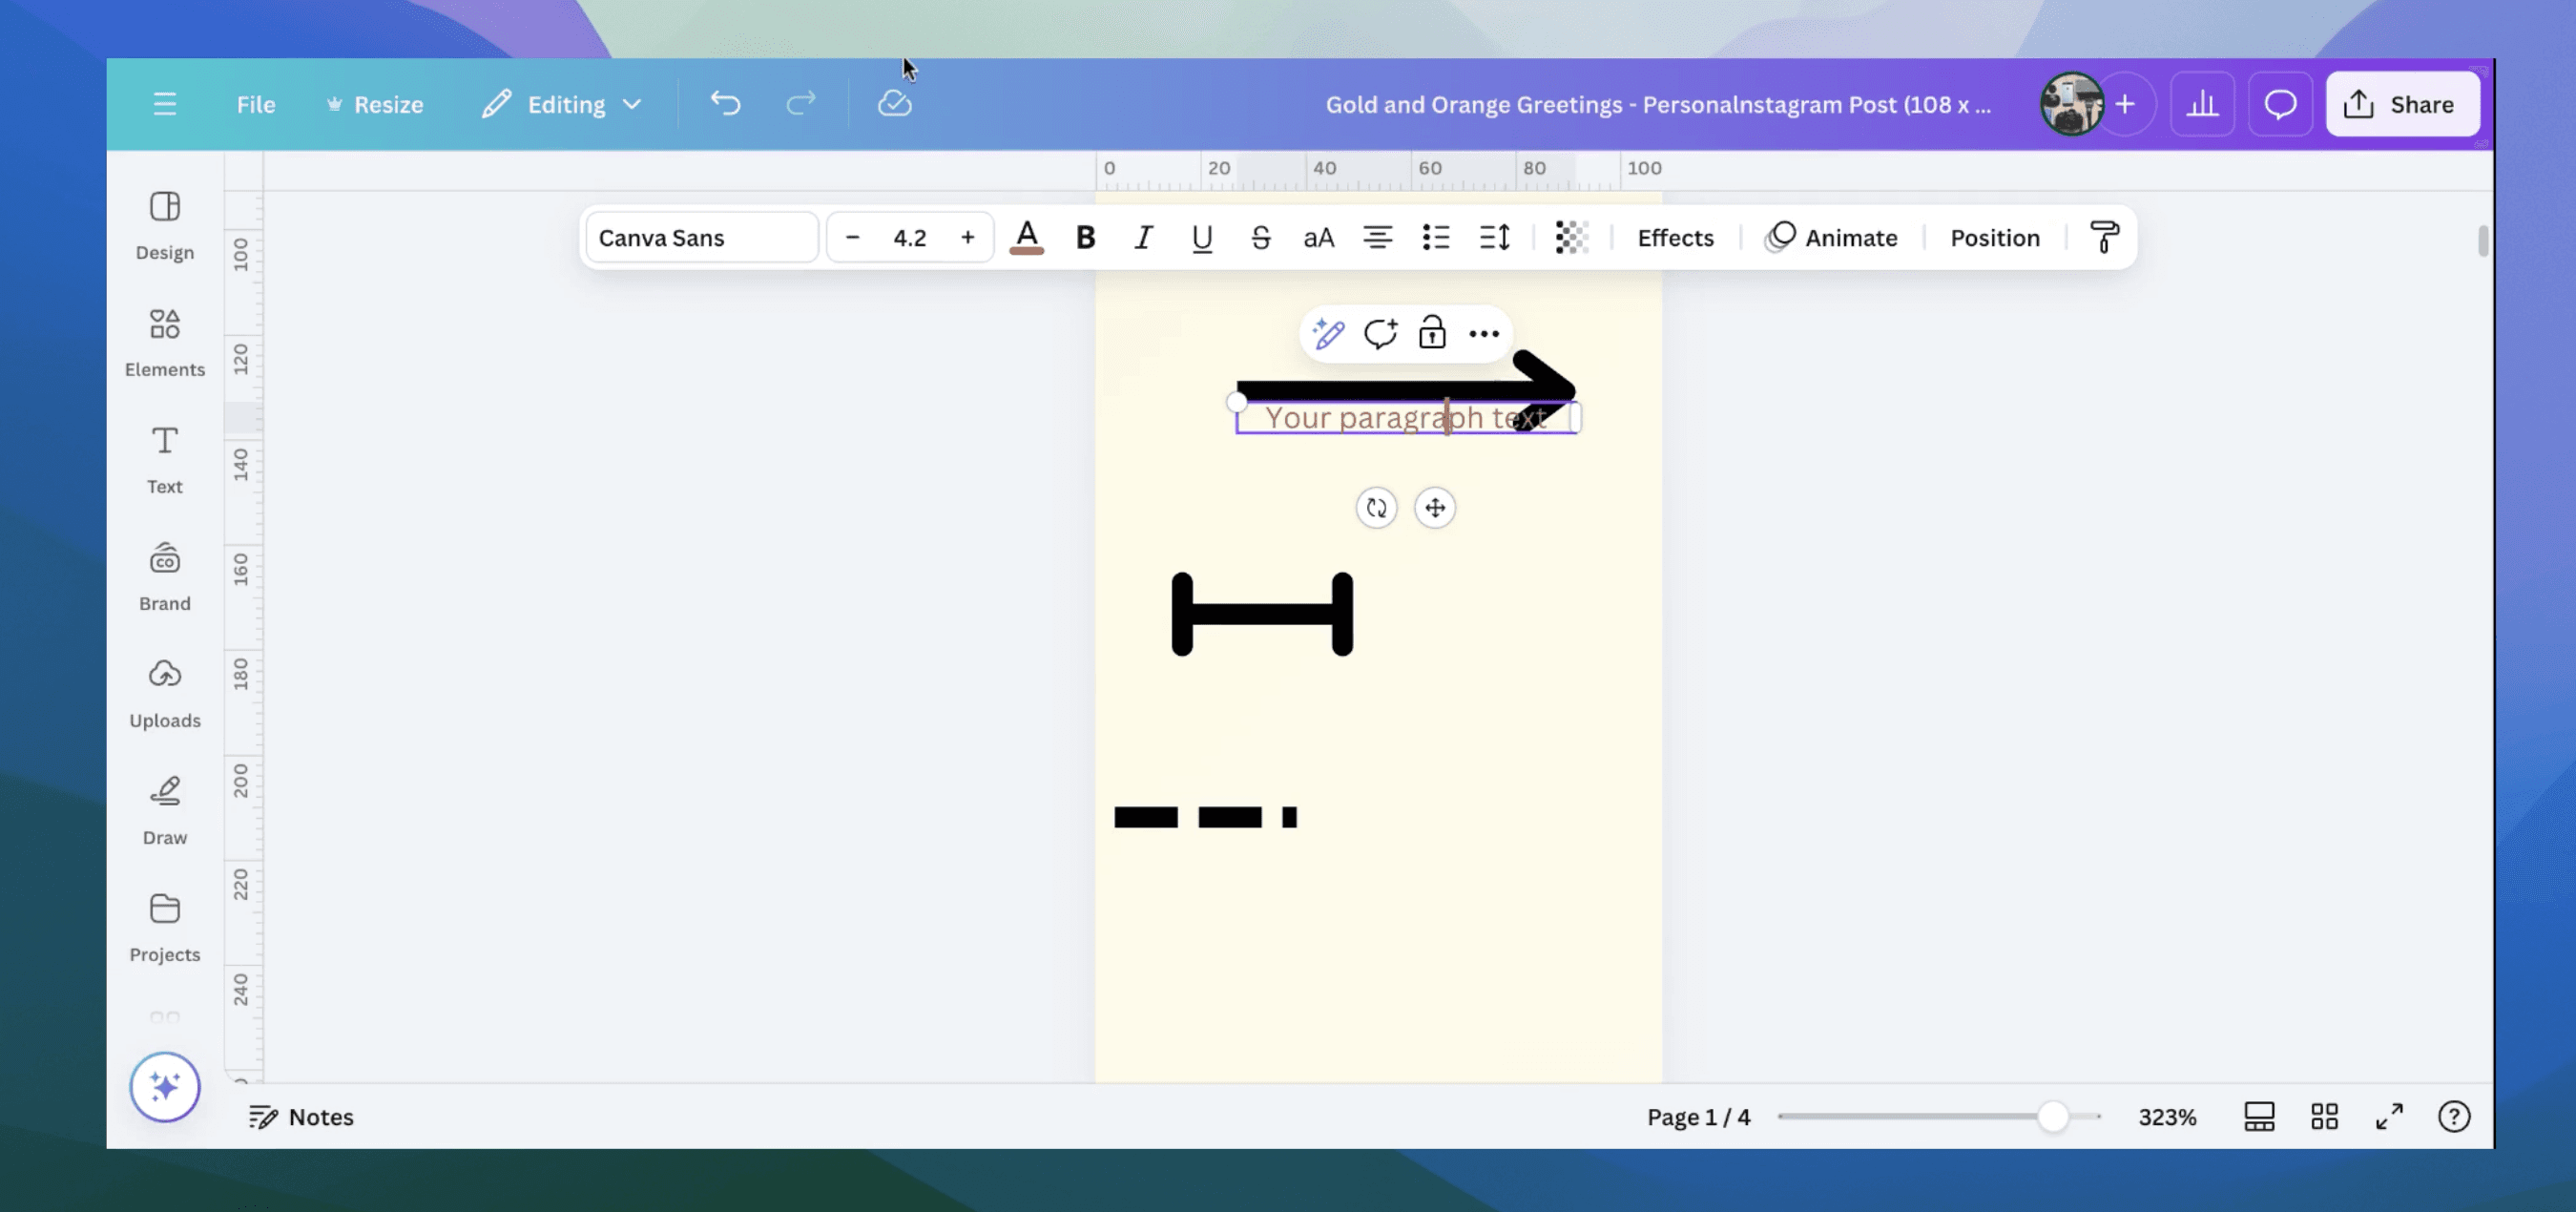
Explain how to show ruler in Canva
Explain how to show ruler in Canva
Explain how to show ruler in Canva
Canva
Canva
Canva


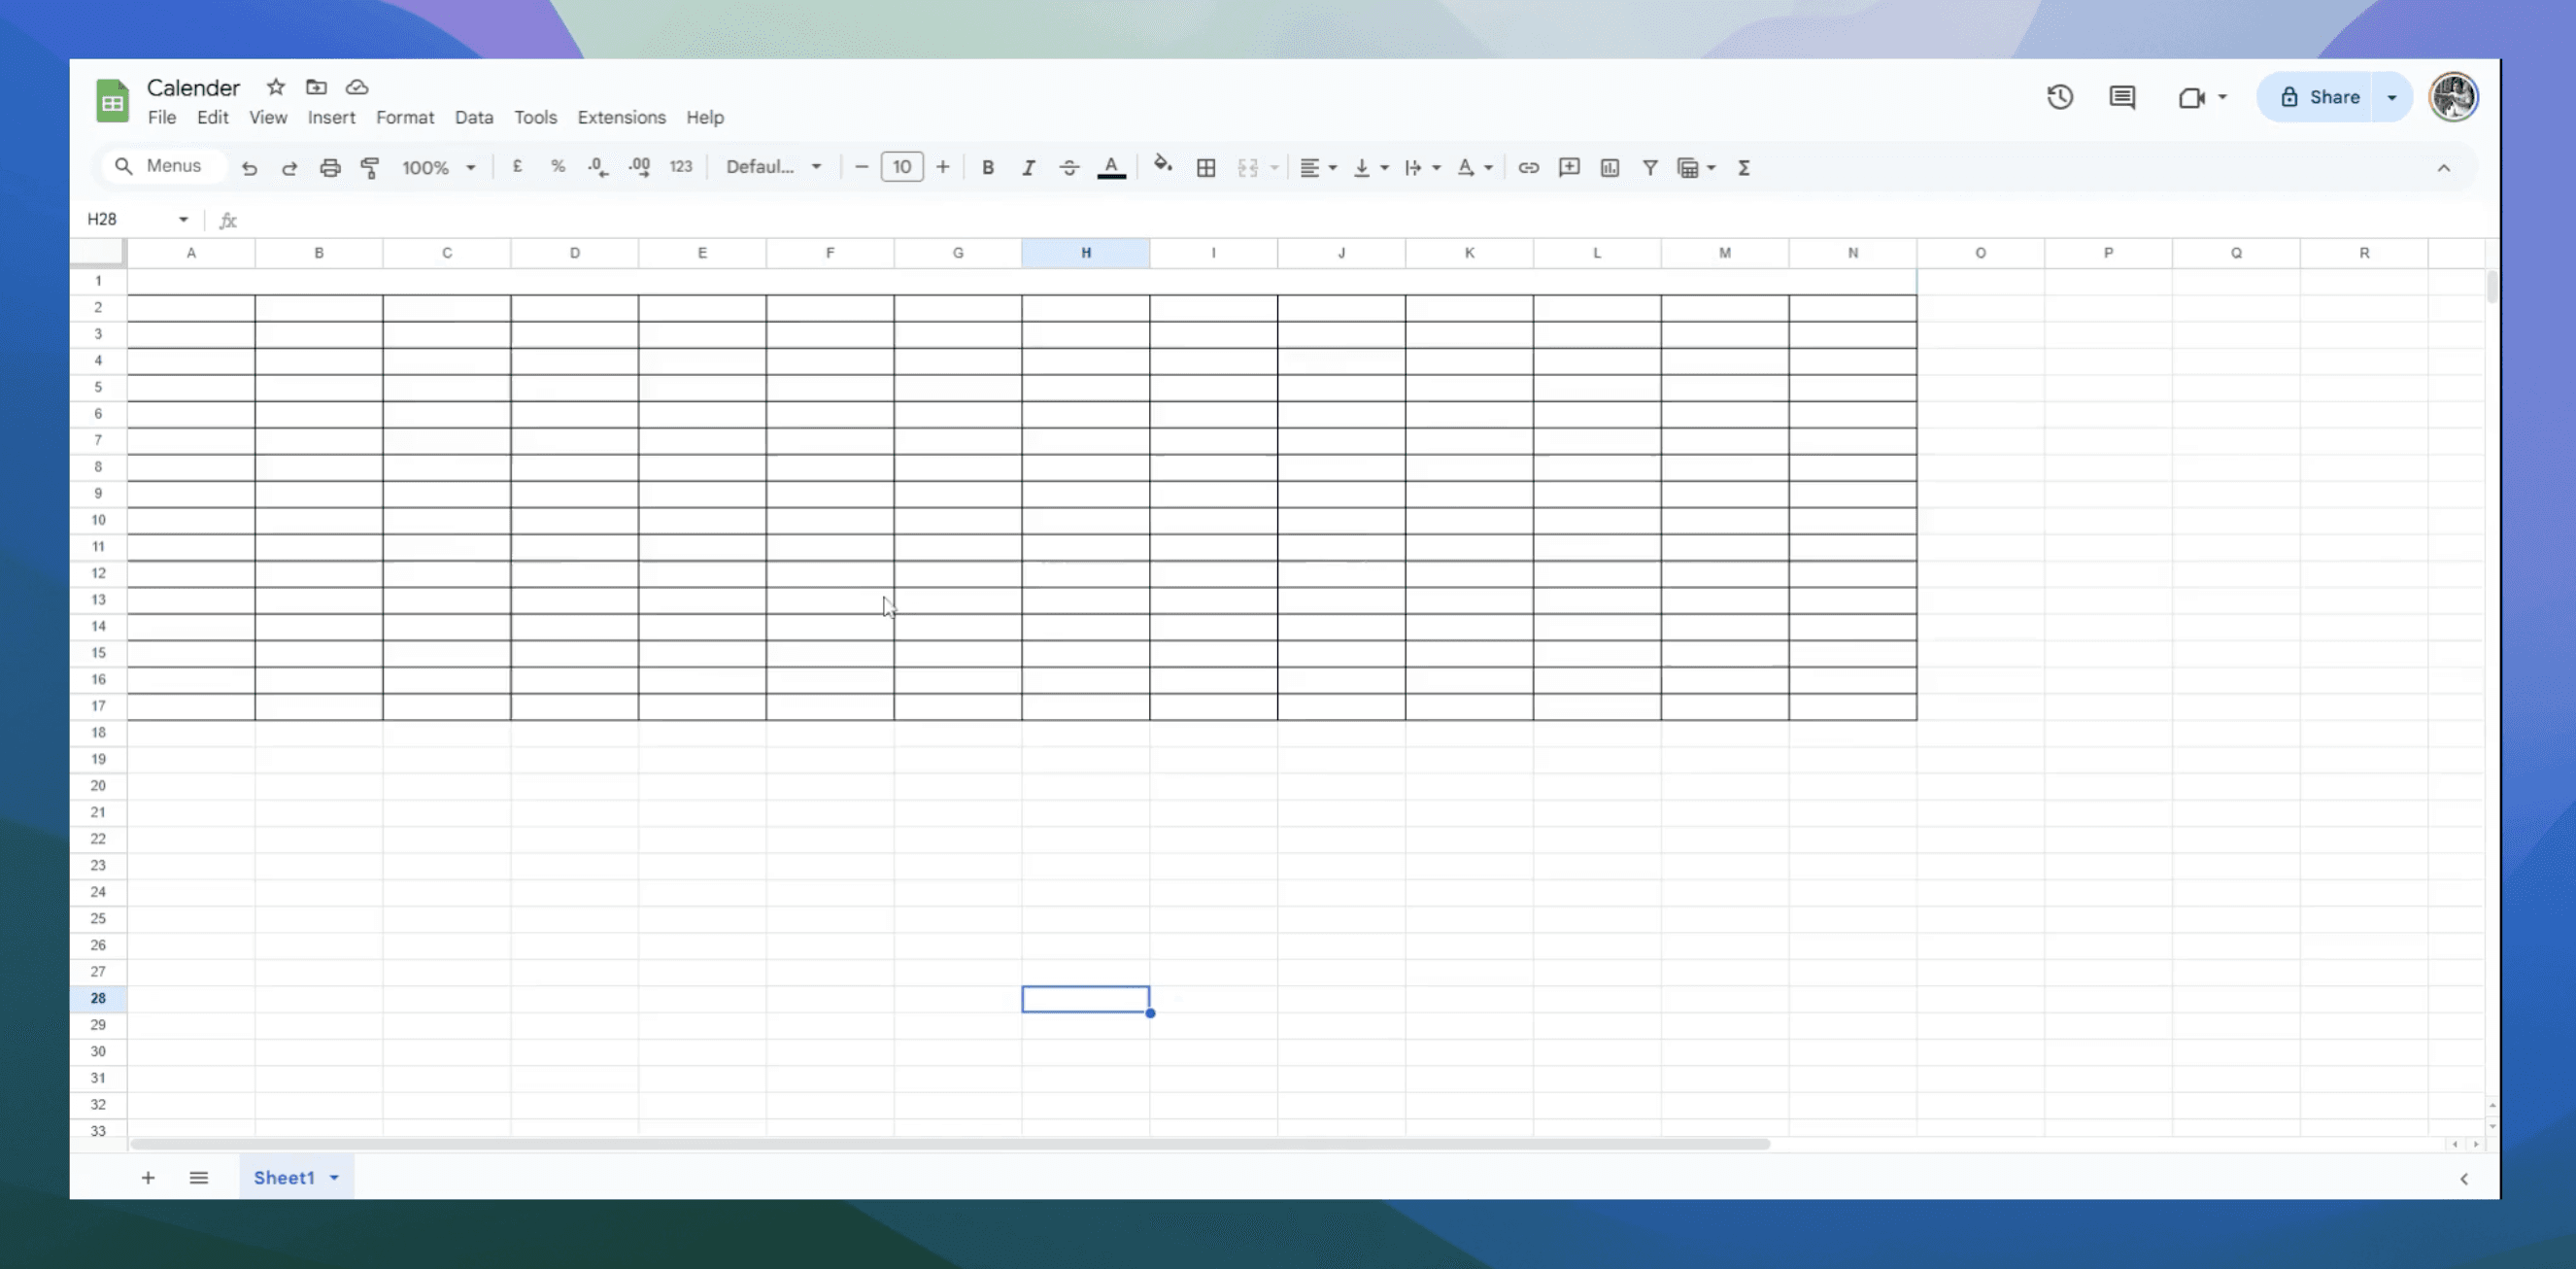
How to add calendar in Google Sheets
How to add calendar in Google Sheets
How to add calendar in Google Sheets
Google Sheets
Google Sheets
Google Sheets


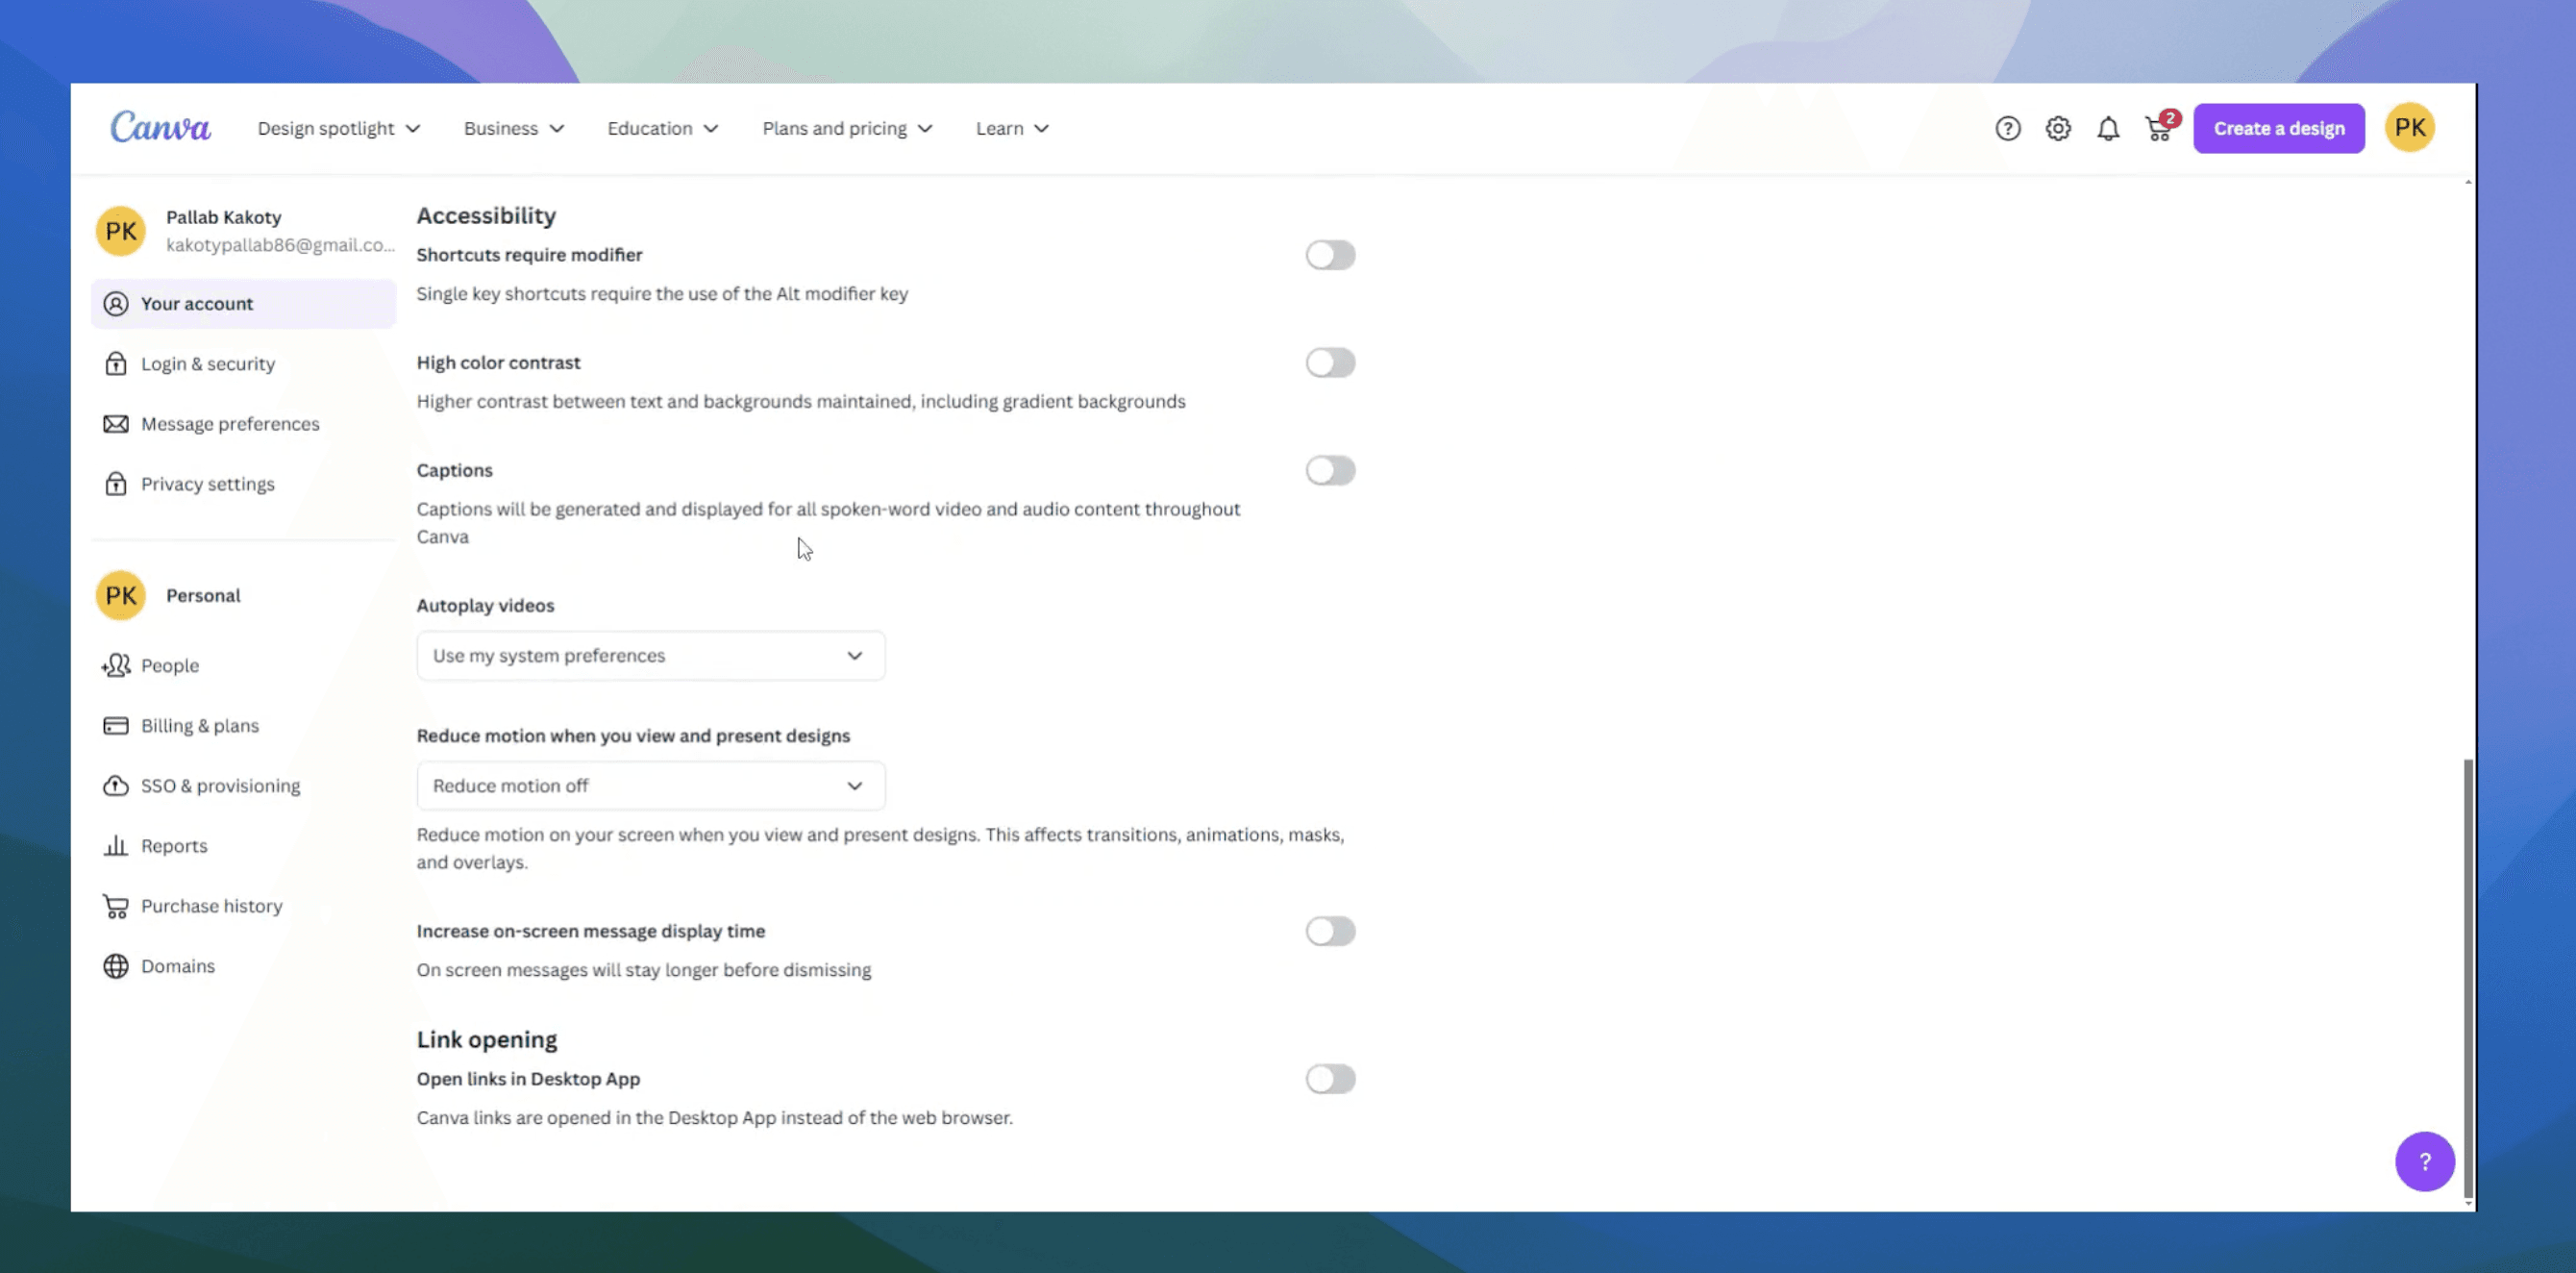
How to add captions in Canva
How to add captions in Canva
How to add captions in Canva
Canva
Canva
Canva
Experience the new way of creating product content.
Start creating for free
Experience the new way of creating product content.
Start creating for free
Experience the new way of creating product content.
Start creating for free
Resources
© 2025 – Trupeer
Resources
© 2025 – Trupeer