VIDEO AND GUIDE MADE IN TRUPEER IN 2 MINUTES
How to remove background in Canva
How to remove background in Canva
How to remove background in Canva
This guide outlines the steps required to remove the background from a photo or video using Canva's built-in tool. By following these instructions, you can easily achieve a clean background-free image or video in just a few simple steps.
Step 1
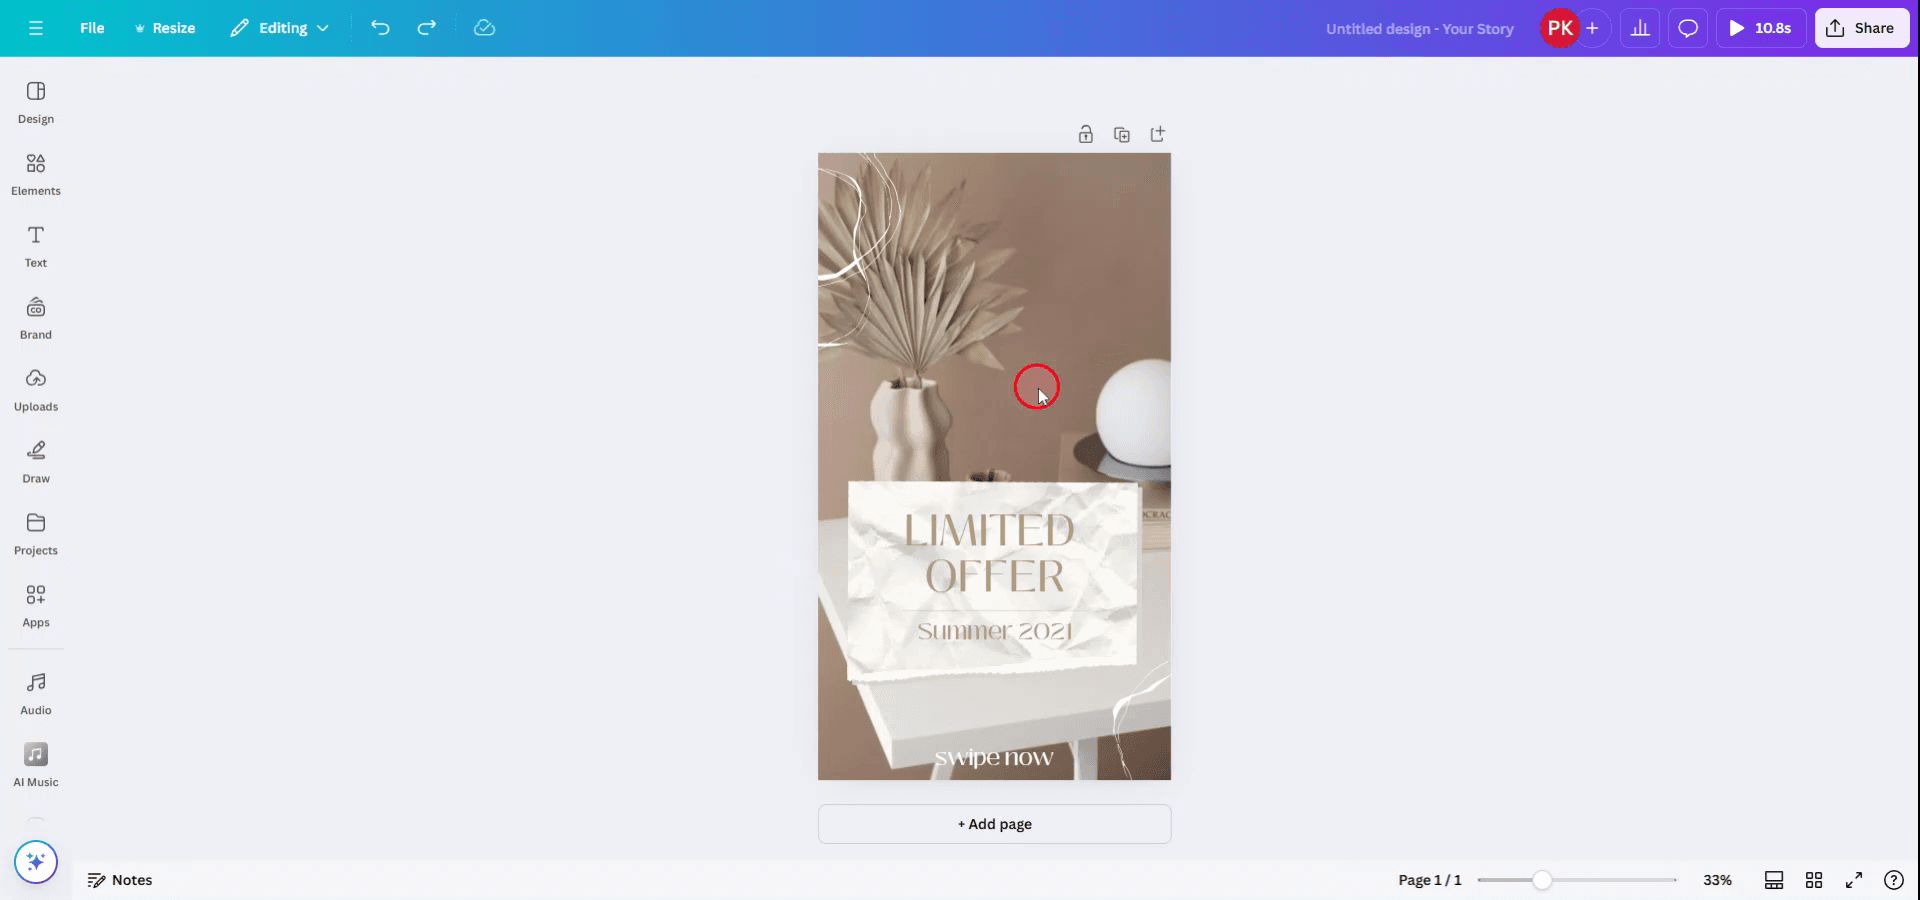
To begin removing the background in Canva, select the photo or video from which you wish to remove the background.
Step 2
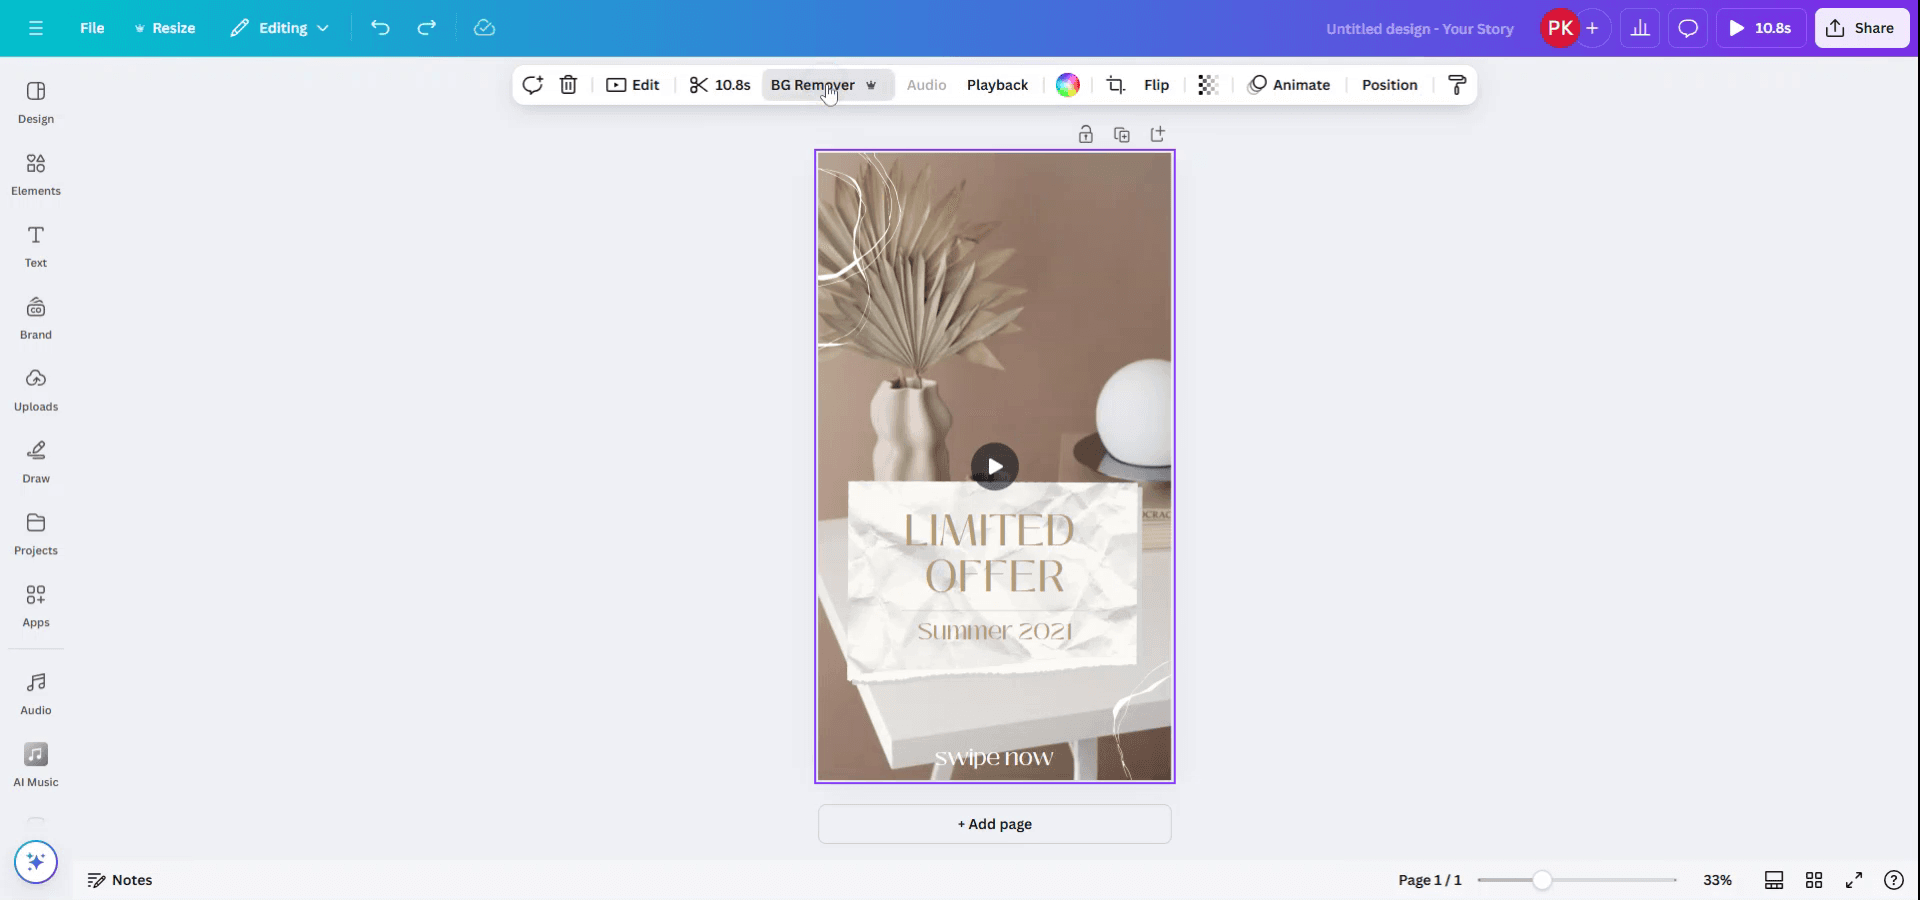
For this guide, we are using a video to demonstrate background removal. After selecting your image or video, a toolbar will appear at the top labeled "BG Remover." Click on this option to proceed.
Step 3
Canva will automatically recognize and erase the background from your selected photo or video. In this case the 'light brown' background is removed. Hope this guide helps you!

Pro tips for removing the background in Canva
Select the Image:
Click on the image you want to remove the background from.Click on “Edit Image”:
In the top toolbar, click on the “Edit Image” button.Use the “Background Remover” Tool:
If you have Canva Pro, select the "Background Remover" option. Canva will automatically detect and remove the background.Manual Adjustments:
After the background is removed, you can manually adjust the image using the “Erase” or “Restore” brush tools to fine-tune areas that were missed.Download the Image:
Once the background is removed, click “Download” in the top right, select your preferred file type (PNG is recommended for transparent backgrounds), and download the image.
Common pitfalls and how to avoid them for removing the background in Canva
Background Not Completely Removed:
Fix: Use the "Erase" or "Restore" tools to clean up areas that weren't fully removed during the automatic process.Low-Quality Image After Background Removal:
Fix: Ensure you're working with a high-resolution image to get a clean removal. Low-quality images might produce rough edges after background removal.Not Available in Free Version:
Fix: The "Background Remover" tool is available only with Canva Pro. If you're using the free version, consider upgrading or using a third-party tool before uploading to Canva.Image Edges Look Harsh After Removal:
Fix: Use Canva’s built-in “Shadow” or “Glow” effect on the image to make edges blend more naturally with the background.Accidental Erasure of Important Parts of the Image:
Fix: Take it slow while erasing and restoring. Use "Undo" (Ctrl+Z) to correct any mistakes.
Common FAQs for removing the background in Canva
How do I remove the background of an image in Canva?
Click on the image, then go to “Edit Image” and select the “Background Remover” tool (Canva Pro only).Can I remove the background from a photo without Canva Pro?
Canva’s background remover tool is only available for Pro users. For free users, consider using external tools like remove.bg and then upload the image to Canva.Will removing the background affect the image’s quality?
The quality of the image depends on the original resolution. Low-quality images might not look as clean after background removal.Can I add a new background after removing the old one?
Yes, once the background is removed, you can add any background you want to the image.Can I save the image with a transparent background?
Yes, to save the image with a transparent background, download it as a PNG file and make sure to check the "Transparent background" option before downloading.
This is a step-by-step guide on How to remove background in Canva
This guide outlines the steps required to remove the background from a photo or video using Canva's built-in tool. By following these instructions, you can easily achieve a clean background-free image or video in just a few simple steps.
Step 1
To begin removing the background in Canva, select the photo or video from which you wish to remove the background.

Step 2
For this guide, we are using a video to demonstrate background removal. After selecting your image or video, a toolbar will appear at the top labeled "BG Remover." Click on this option to proceed.

Step 3
Canva will automatically recognize and erase the background from your selected photo or video. In this case the 'light brown' background is removed. Hope this guide helps you!

Pro tips for removing the background in Canva
Select the Image:
Click on the image you want to remove the background from.Click on “Edit Image”:
In the top toolbar, click on the “Edit Image” button.Use the “Background Remover” Tool:
If you have Canva Pro, select the "Background Remover" option. Canva will automatically detect and remove the background.Manual Adjustments:
After the background is removed, you can manually adjust the image using the “Erase” or “Restore” brush tools to fine-tune areas that were missed.Download the Image:
Once the background is removed, click “Download” in the top right, select your preferred file type (PNG is recommended for transparent backgrounds), and download the image.
Common pitfalls and how to avoid them for removing the background in Canva
Background Not Completely Removed:
Fix: Use the "Erase" or "Restore" tools to clean up areas that weren't fully removed during the automatic process.Low-Quality Image After Background Removal:
Fix: Ensure you're working with a high-resolution image to get a clean removal. Low-quality images might produce rough edges after background removal.Not Available in Free Version:
Fix: The "Background Remover" tool is available only with Canva Pro. If you're using the free version, consider upgrading or using a third-party tool before uploading to Canva.Image Edges Look Harsh After Removal:
Fix: Use Canva’s built-in “Shadow” or “Glow” effect on the image to make edges blend more naturally with the background.Accidental Erasure of Important Parts of the Image:
Fix: Take it slow while erasing and restoring. Use "Undo" (Ctrl+Z) to correct any mistakes.
Common FAQs for removing the background in Canva
How do I remove the background of an image in Canva?
Click on the image, then go to “Edit Image” and select the “Background Remover” tool (Canva Pro only).Can I remove the background from a photo without Canva Pro?
Canva’s background remover tool is only available for Pro users. For free users, consider using external tools like remove.bg and then upload the image to Canva.Will removing the background affect the image’s quality?
The quality of the image depends on the original resolution. Low-quality images might not look as clean after background removal.Can I add a new background after removing the old one?
Yes, once the background is removed, you can add any background you want to the image.Can I save the image with a transparent background?
Yes, to save the image with a transparent background, download it as a PNG file and make sure to check the "Transparent background" option before downloading.
This is a step-by-step guide on How to remove background in Canva
Explore similar articles
Explore similar articles
Explore similar articles


Explain how to show ruler in Canva
Explain how to show ruler in Canva
Explain how to show ruler in Canva
Canva
Canva
Canva


How To Add Bullet Points In Google Sheets
How To Add Bullet Points In Google Sheets
How To Add Bullet Points In Google Sheets
Google Sheets
Google Sheets
Google Sheets
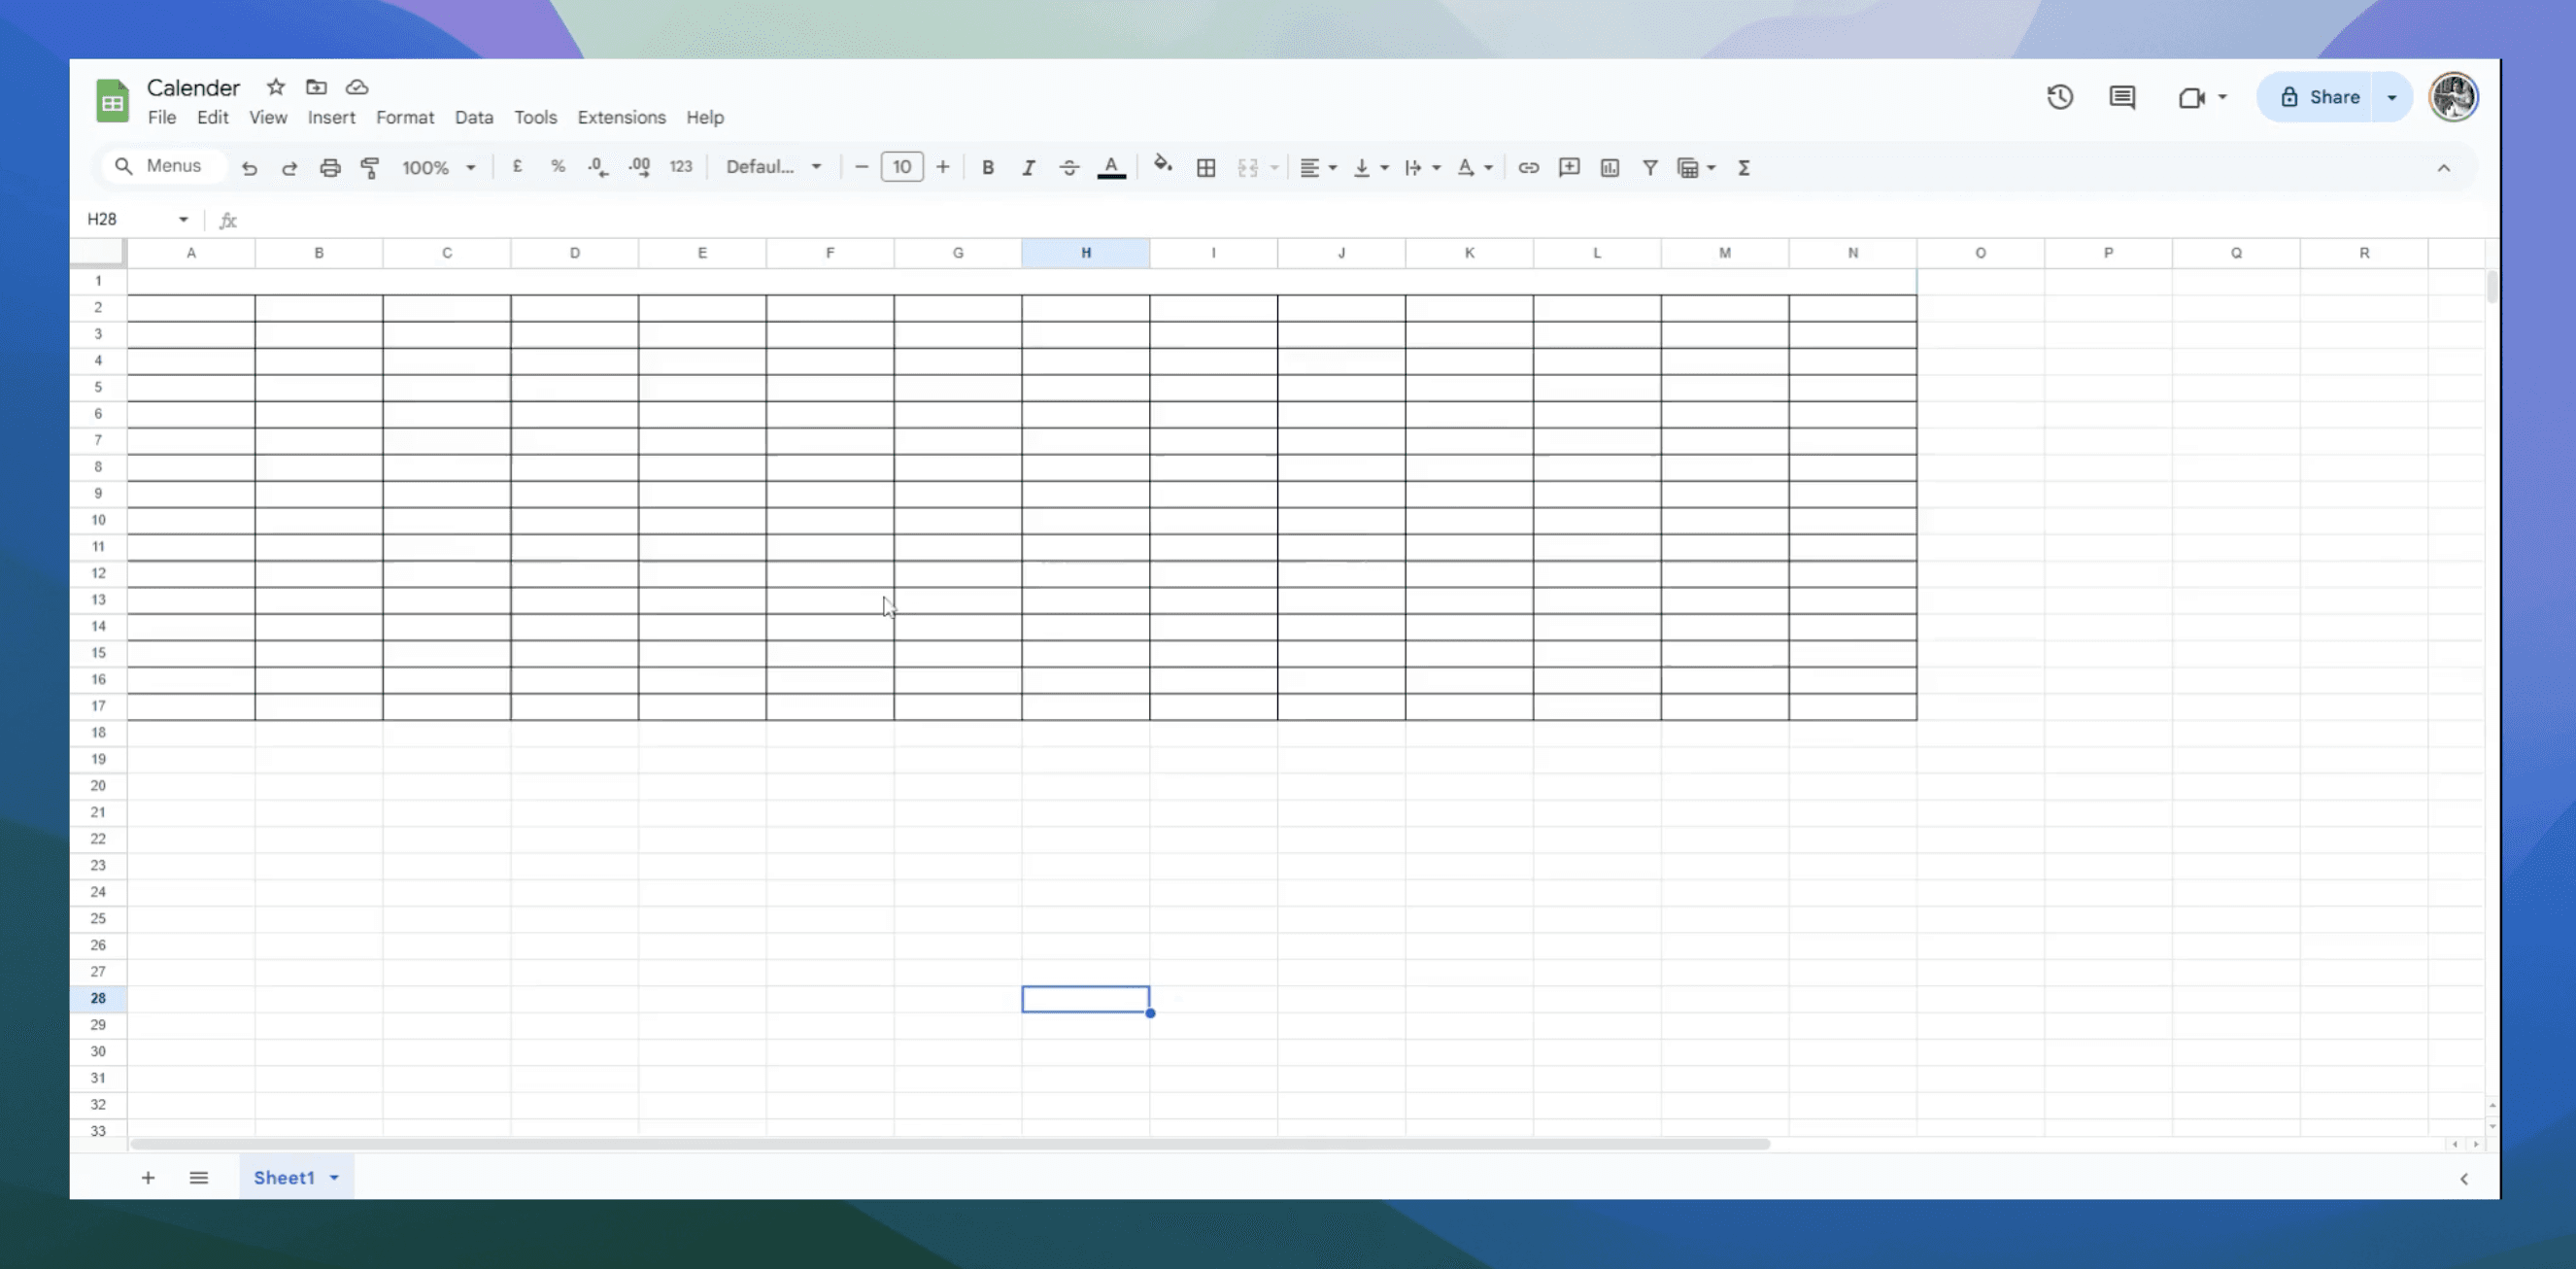


How to add calendar in Google Sheets
How to add calendar in Google Sheets
How to add calendar in Google Sheets
Google Sheets
Google Sheets
Google Sheets